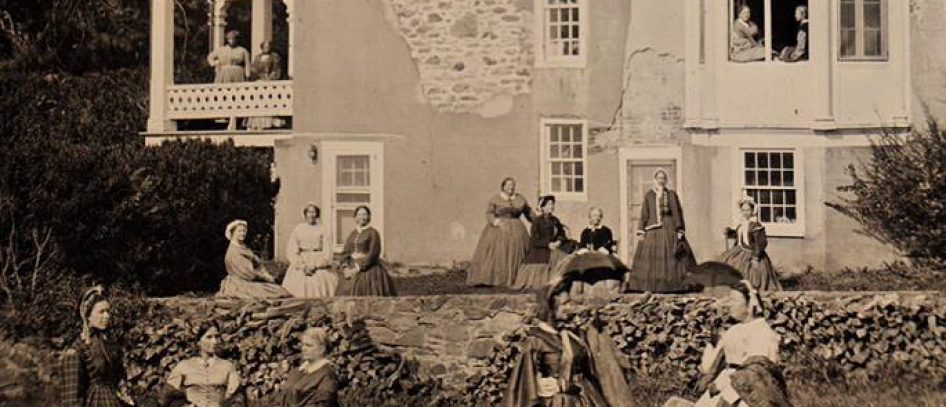
As long as I have been into living history, I have had long hair. Then came 2020 and the Covid pandemic and events were cancelled. So I cut my hair…short. Knowing that eventually events would come back around I needed something to disguise my short hair. I am not of the age that a short cut would be appropriate for the time period nor was it cut in a style appropriate for a woman in the 1860s. I tried hair pieces and wigs, but neither were satisfactory. Bonnets would do the trick for outside, but what about inside. I started looking for everyday examples of caps worn in the 1860s; not morning caps, but caps worn in the home during the day, even with company.
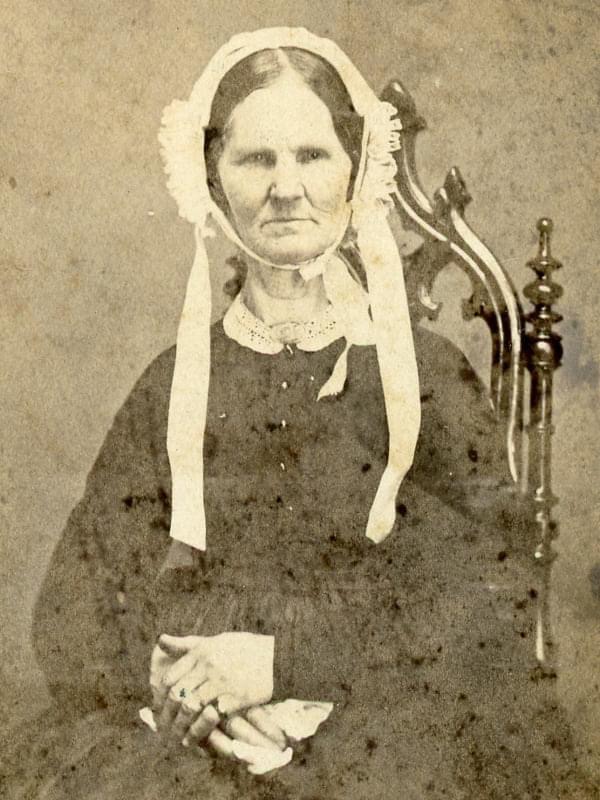
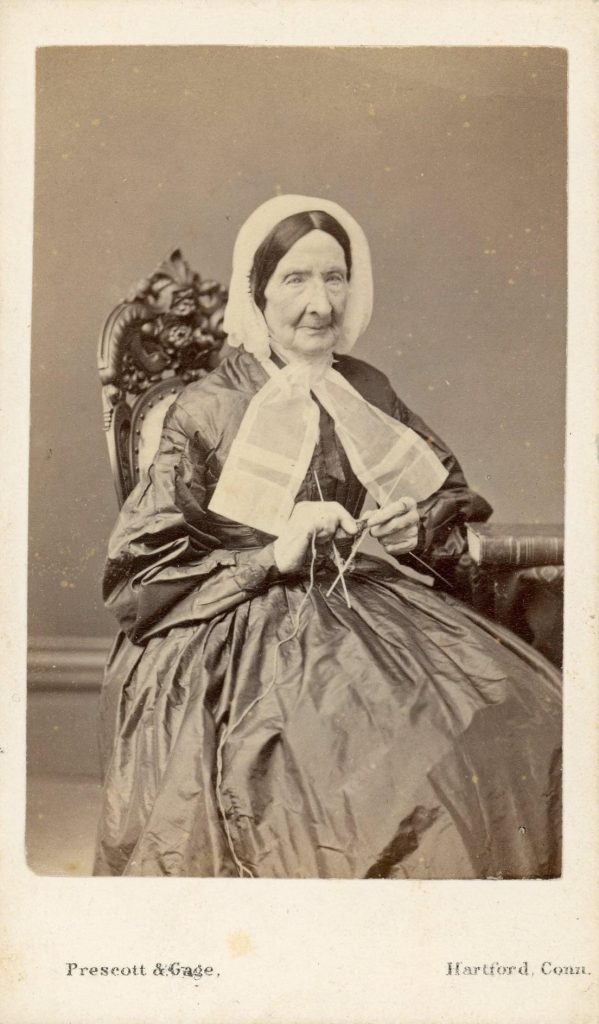
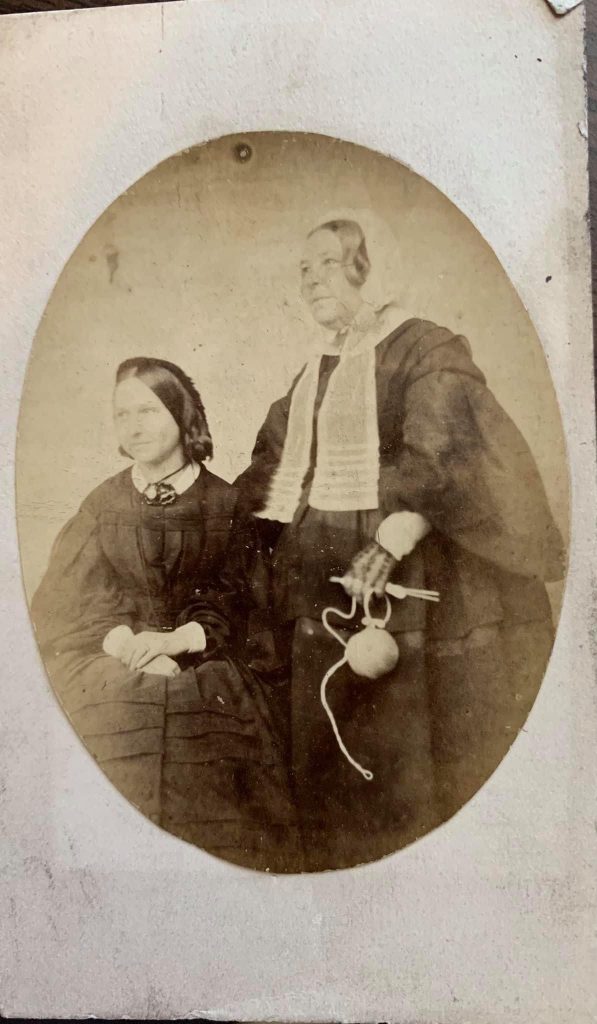
I don’t have access to original caps with stellar provenance nor was visiting collectors who might a possibility with the pandemic, so I started looking at images. Godey’s and other ladies’ magazines had some images; very ornate and very fashionable (thank you Danielle for the great book). These gave great descriptions of when these caps were worn: breakfast, morning, during the day. etc. But I wanted to see what ordinary women wore. I determined that my best information would come from CDV images; if they wore it for a photograph, it probably was something that they would be accustomed to wearing inside.
Here are examples of some of the images I found.
I choose to replicate this one.
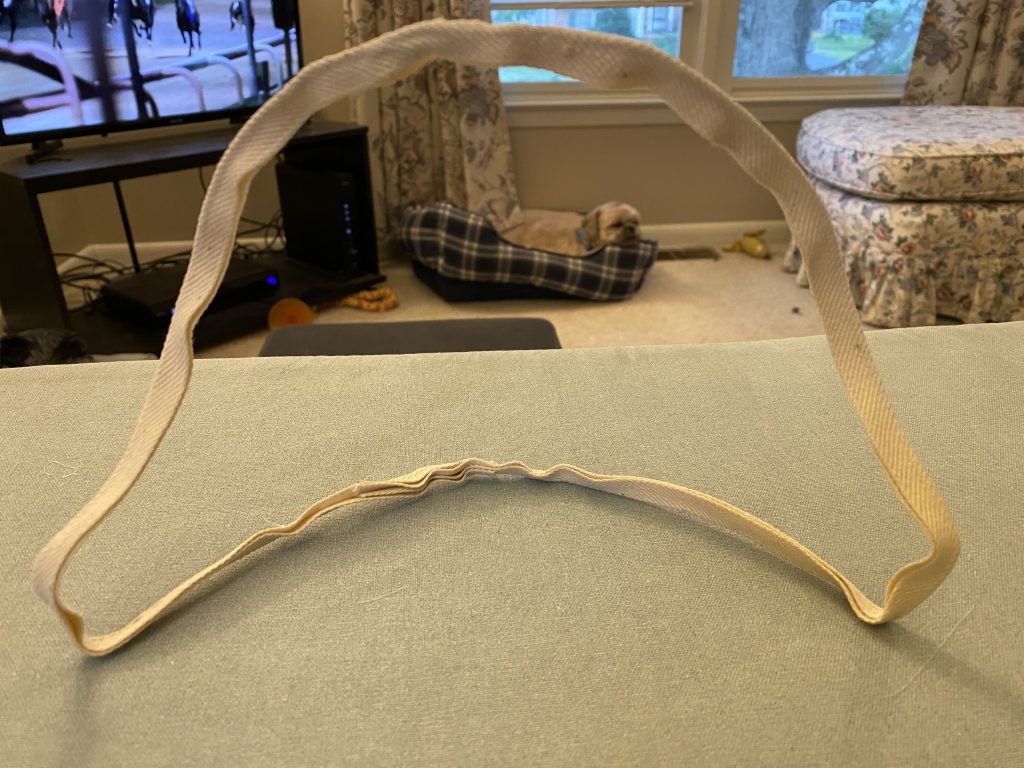
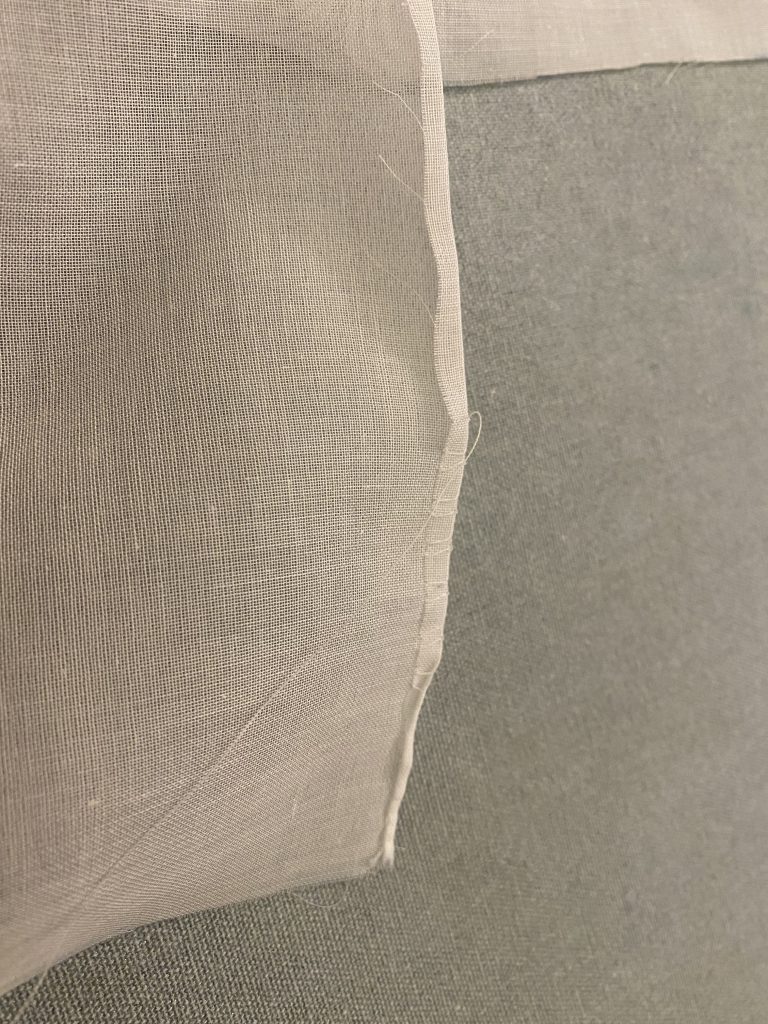
I made the cap of white, sheer batiste I had from Needle and Thread. I started by creating a wire frame. This was the only way I could see the cap staying on and holding its shape.
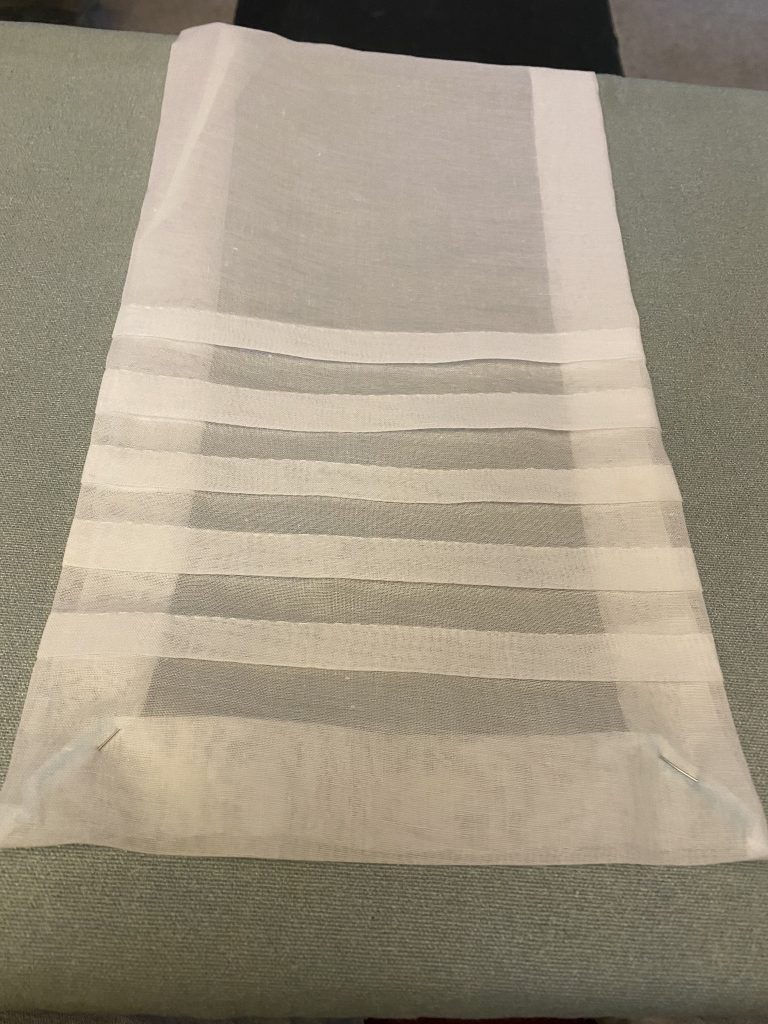
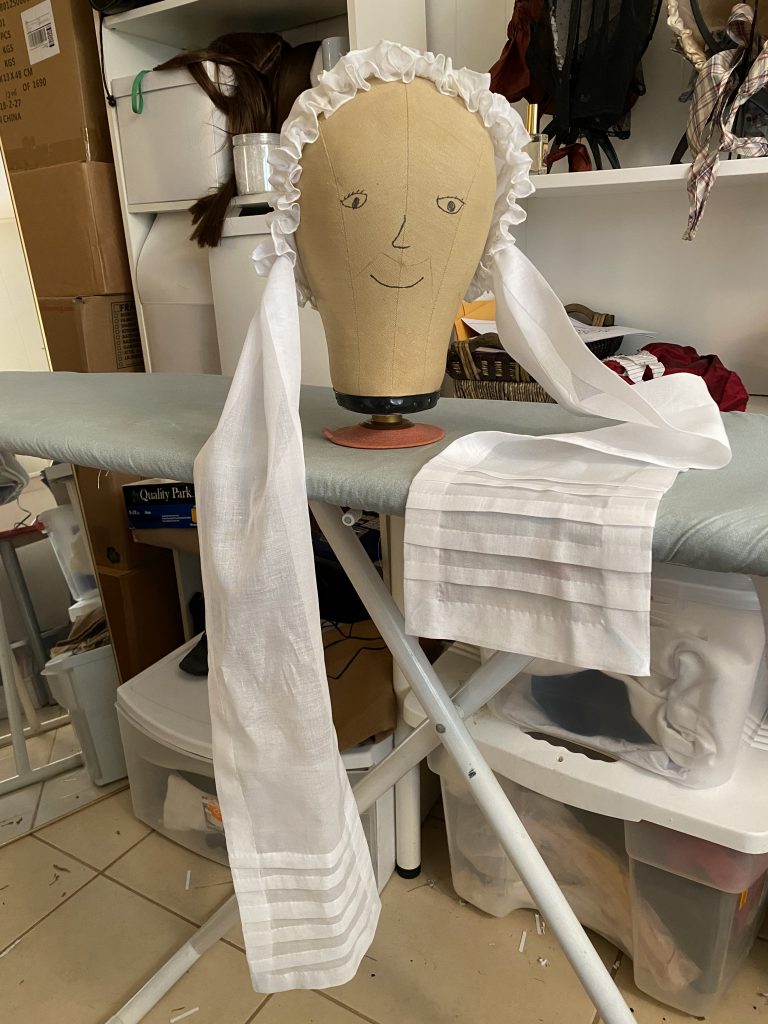
Next I started on the ties or lappets. The image appeared to have tucks at the bottom of the lappet. I choose to make mine about 1 inch wide,
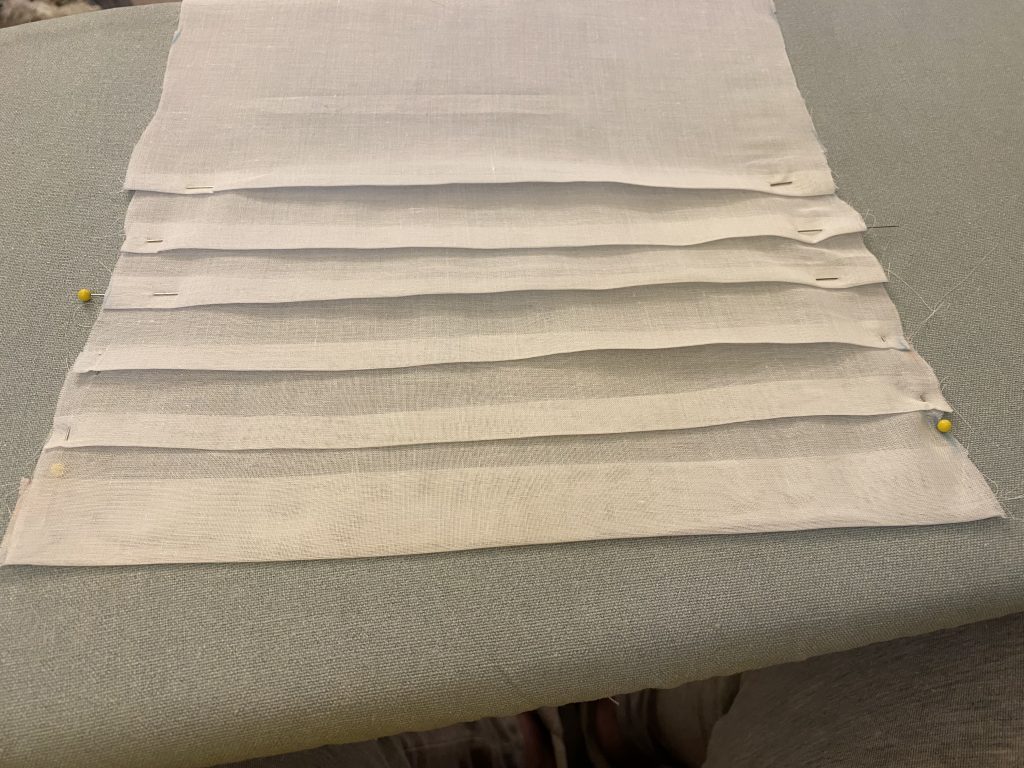
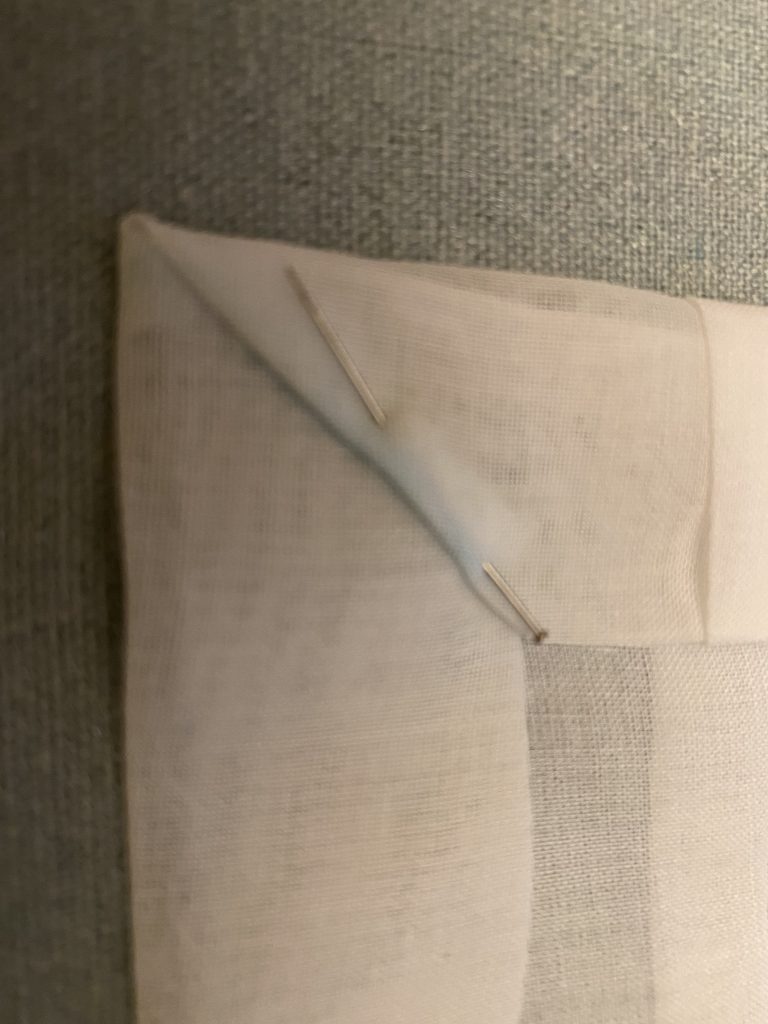
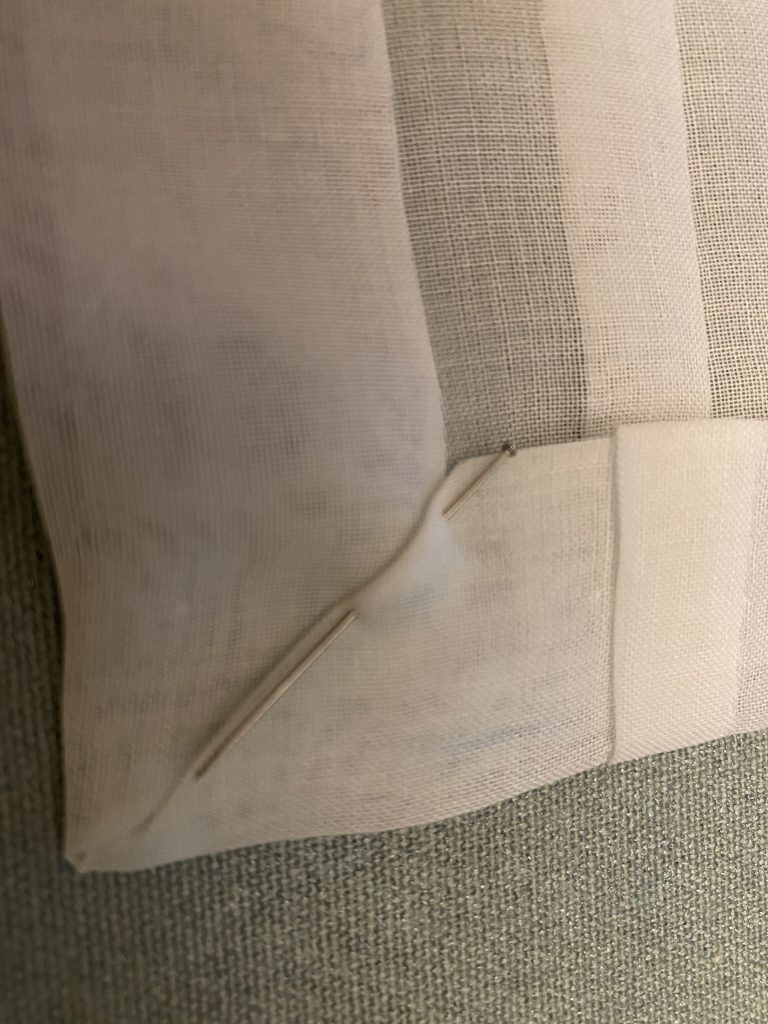
Once the tucks were completed, I hemmed the edges two inches folded on itself and mitered the corners on the bottom. Once done, I set these aside to work on the base of the cap.
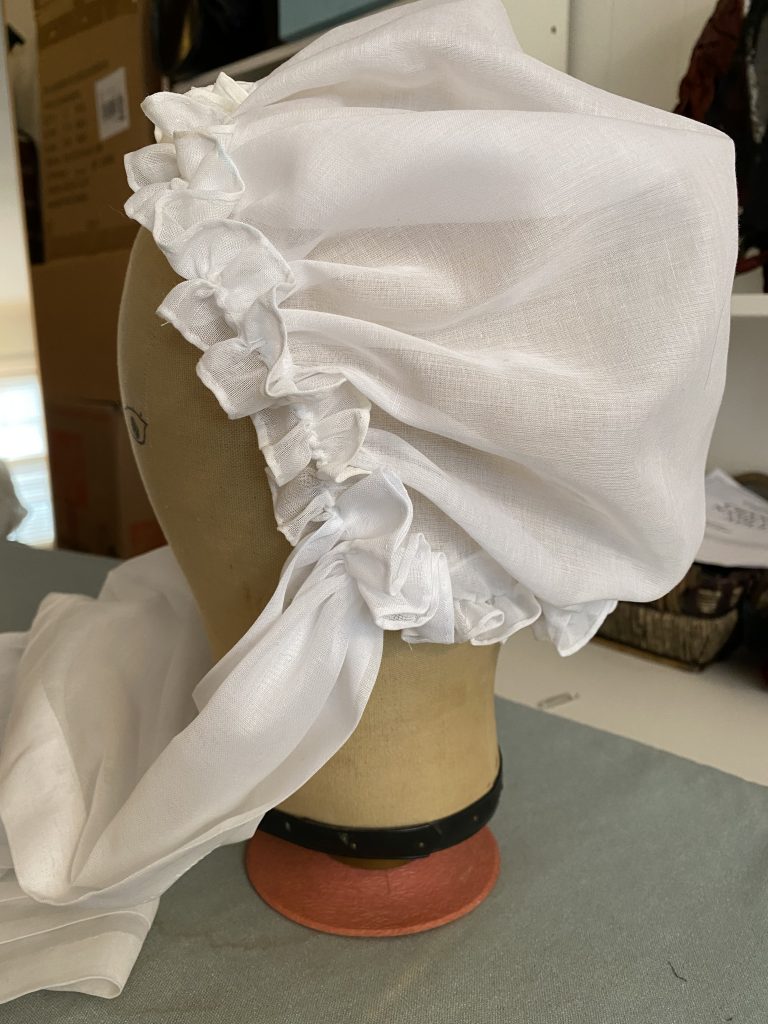
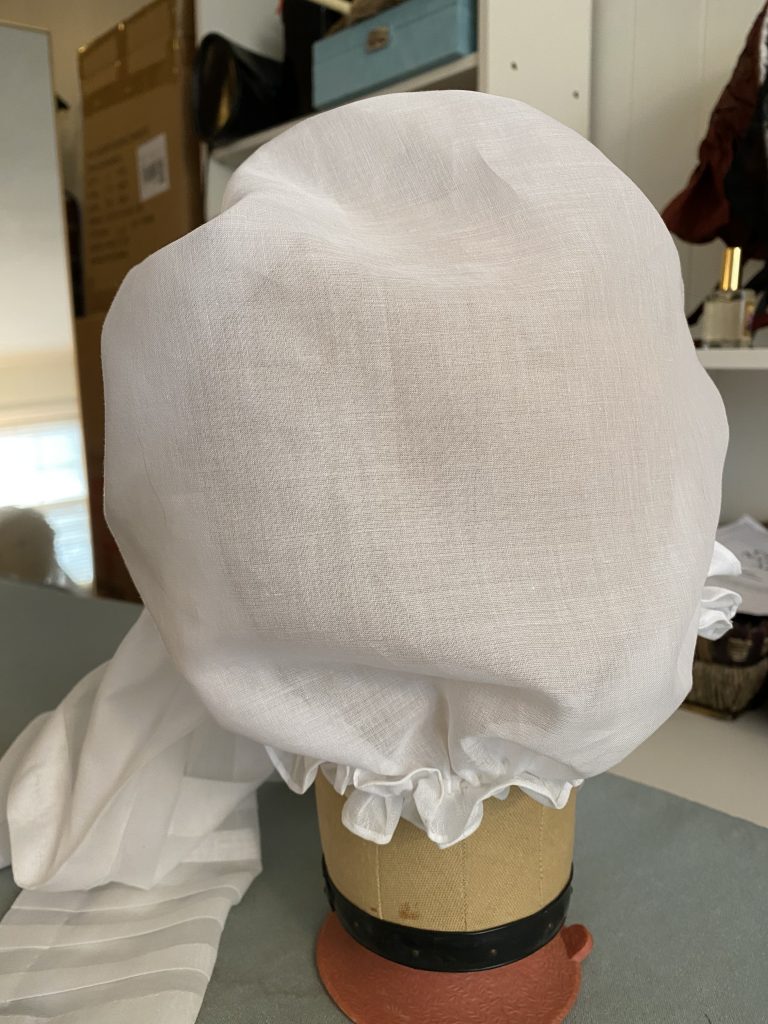
The base. This was the most difficult. I have not had experience with making bases such as this. I knew it should be round, but how round? A lot of experimenting with scrap fabric. I also used some of the patterns in the book From the Neck Up. After much fiddling, I found the shape and size I needed for my head. I attached the base to the back of the frame by overlapping the edge of the fabric over the frame and whip stitching it around the edge of the frame.
The shape of the cap has front tabs like a bonnet. I attached the lappets to the bottom and outside of the cap at the tabs by slightly gathering the top of the lappet and securing with small stitches. It didn’t really matter how it looked as the ruffles would cover the attachment.
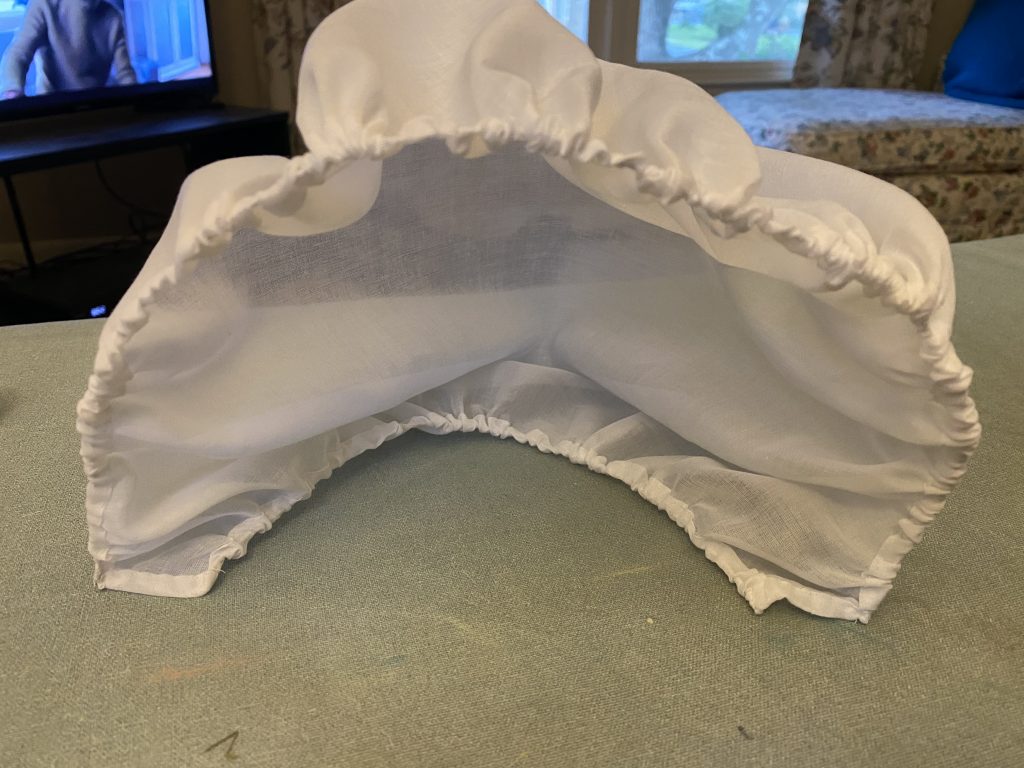
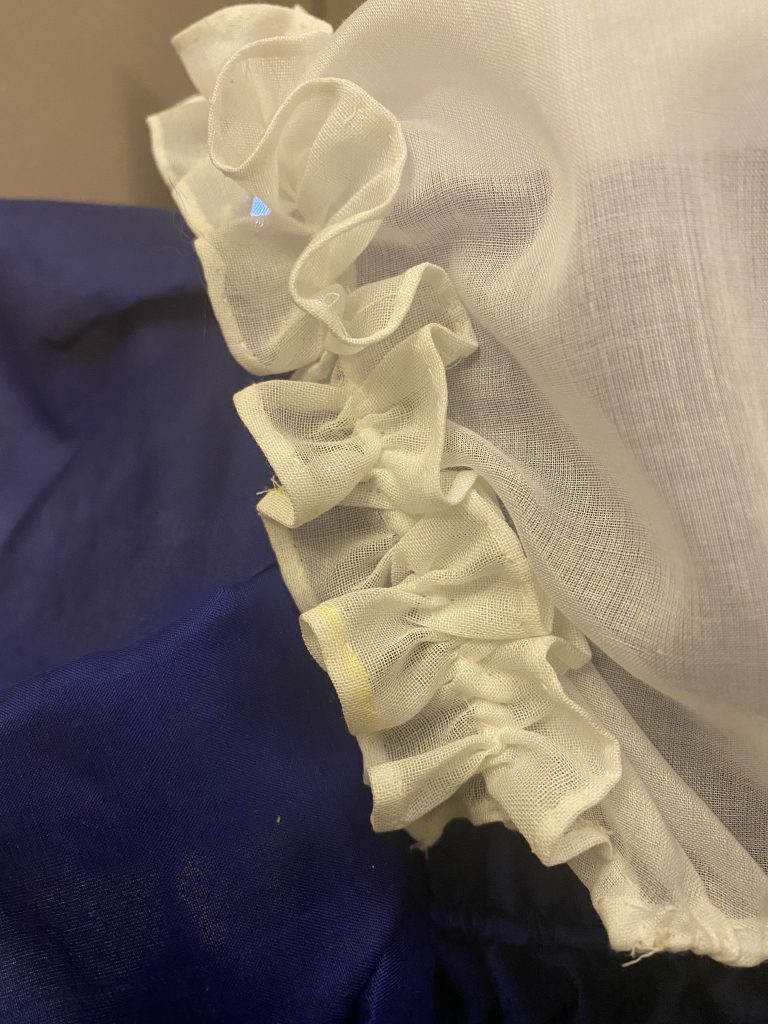
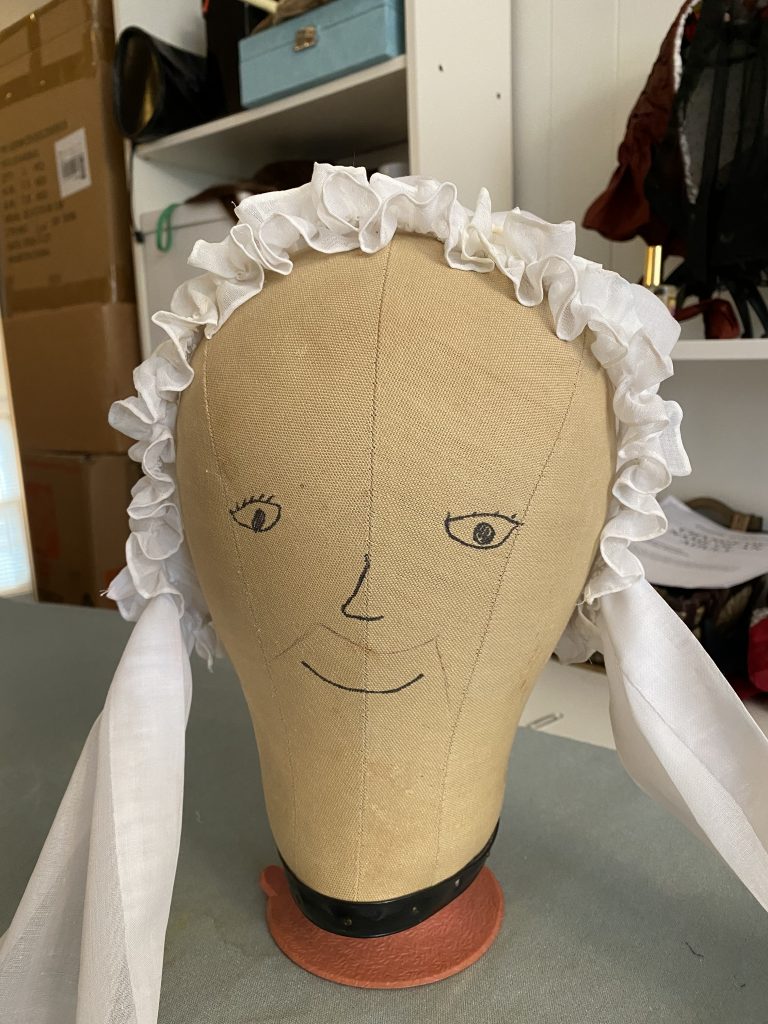
Next the ruffles. This was by far the easiest and less complicated of the whole process. It appears to me that there are ruffles all the way around the edge of the cap. I used one full length of fabric about 2 ½ times the circumference of the frame and cut the strip 1 ½ inches wide. This gave me width for a rolled hem on the edge of the strip to finish off the ruffle. I then gathered the strip down the center. I gathered it up a bit and started to apply them to the cap. Until I had the gathered strip placed and at the fullness I wanted I secured it to the cap with pins. Once satisfactorily placed, I whip stitched the ruffles to the edge of the frame down the middle of the ruffle over the gathering thread. And viola, it was done!
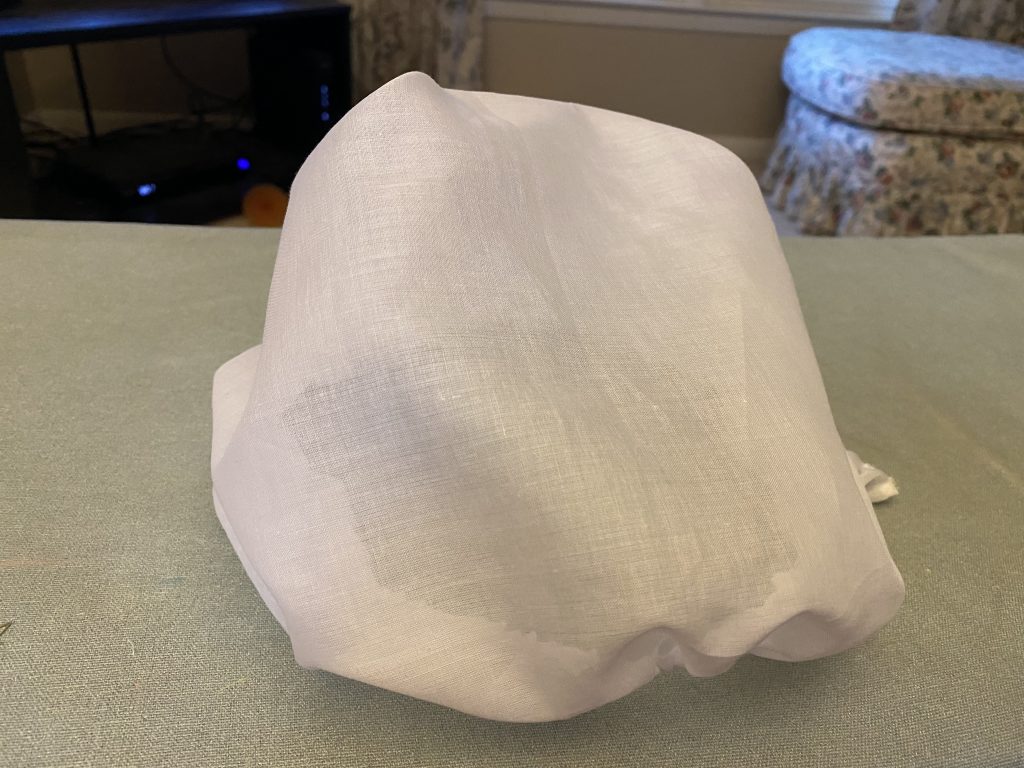
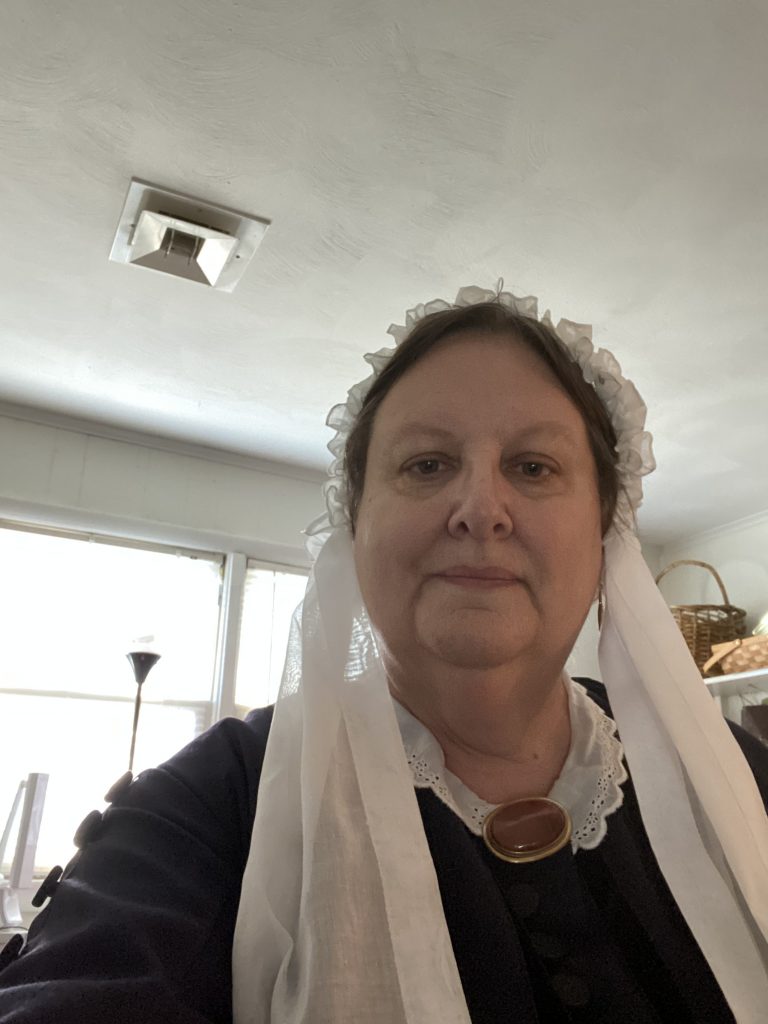
Here are some photos of the finished cap and one of it on. Someone at a local event called me Whistler’s Mother. But I’m happy with it; as long as the front of my hair resembles a period style (parted down the middle) it does a great job of hiding the short hair. And since the fabric is not really sheer and see through, I don’t have to worry about the look of my hair in the back.
There are several period ways to fancy up this cap with tassels, overlays on the base, differently trimmed lappets, etc. This was purely a trial-and-error project for me. If you decide to try this and have questions, please contact me and I’ll try to help.
Categories: Civil War
