Presented at the 18th Annual Ladies and Gentlemen of the 1806s Conference
March 1-4, 2012
 Weighted pincushions, also known as a sewing bricks or a brick pincushions, were suggested by many mid-19th century home magazines as an alternative to sewing birds. Rather than fastening onto a table, these weighted pincushions could be used almost anywhere without worrying about a ledge or lip on which it must adhere. Bricks, lead and even wood could be used to produce these pincushions.
According to Miss Leslie’s Lady’s House-book in 1850,
It is too heavy to overset, and far superior to a screw pincushion, which can only be fixed to a table with a projecting edge. A brick pincushion can be set anywhere, even on a chair; and enables the person who has pinned on it her sewing, to sit always in an upright posture, which is a great advantage; as to be obliged to stoop incessantly over your work, is extremely injurious to health.
All mantua-makers and seamstresses should be provided with brick pincushions. They can be made at a very trifling cost: and, with renewed coverings, will last twenty years or more.
Instructions for brick pincushions appear early in 19th century documents including American Girl’s Book 1831 and later editions, Godey’s in 1835, A Workwoman’s Guide 1840, A Treatise on Domestic Economy 1842, and Miss Leslie’s Lady’s House-book: A Manual of Domestic Economy 1850 and later editions. Instructions continue to be included in home making advice publications into the early 1900s. Although not all references to the brick pincushion include instructions, those that do appear to be identical with only slight variations in wording.
Get a large clean brick, not in the least broken or scaled off at the edges, and cover it all over with strong coarse tow linen, or thick cotton cloth, sewed on tightly and smoothly with strong thread. Then make a bag of thick linen, allowing it to be two or three inches larger each way than the top of the brick. Stuff the bag as hard as possible with bran or with clean wool; (not cotton, as it will prevent the pins from going in.) You must put in at least two quarts of bran, but most probably more. You can procure bran at a feed-store, or from a stable. In making this pincushion, you should wear a large apron, and keep the whole apparatus on a waiter or tray. Use a spoon for putting the bran into the bag; and press it down as hard as possible. When the bag cannot hold any more, even by tight squeezing, sew up the open end. Fit the bag evenly all round to the top of the brick, and sew it strongly to the coarse linen covering. Then sew a piece of green baize on the bottom, where it sits on the table. Afterwards cover the whole pincushion (except the bottom) with thick strong silk, or damask, or some other substantial material. It is best not to ornament it with bows, as your thread may catch round them when you are sewing.
Miss Leslie’s Lady’s House-Book; A Manual of Domestic Economy, Eleventh Edition, 1850, pages 385-386
Smaller versions of the pincushion made with wood blocks were suggested “…to hold the pins you may want when cutting out and fixing work on a bed; for, having flat bottoms, they are not liable to roll off. You may also make a very handsome toilet pincushion with a block for its foundation.”
The following instructions follow those found in Miss Leslie’s Lady’s House-Book; A Manual of Domestic Economy, Eleventh Edition, 1850, pages 385-386.
Required Materials:
Brick (you can also use wood blocks for smaller pincushions)
Coarse thread
Straight and curved needles
Bran or wool (we used oat bran)
Linen or other coarse fabric for brick covering and cushion
Green baize (we used felt)
Thick strong silk, or damask, or some other substantial material for covering
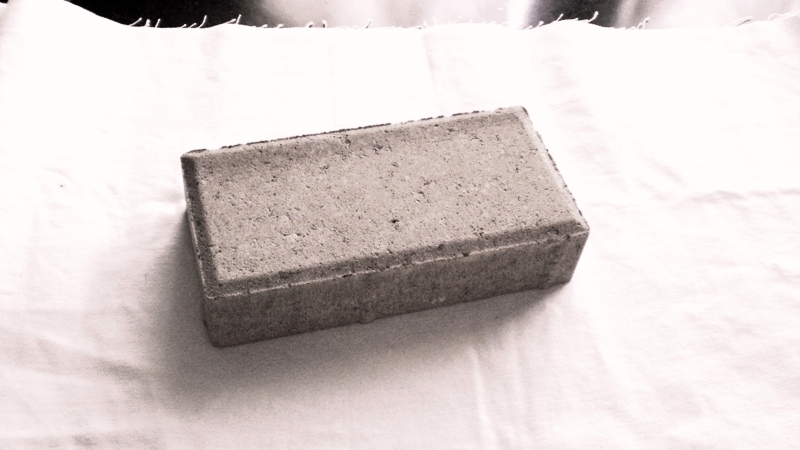 Step 1: Covering the brick
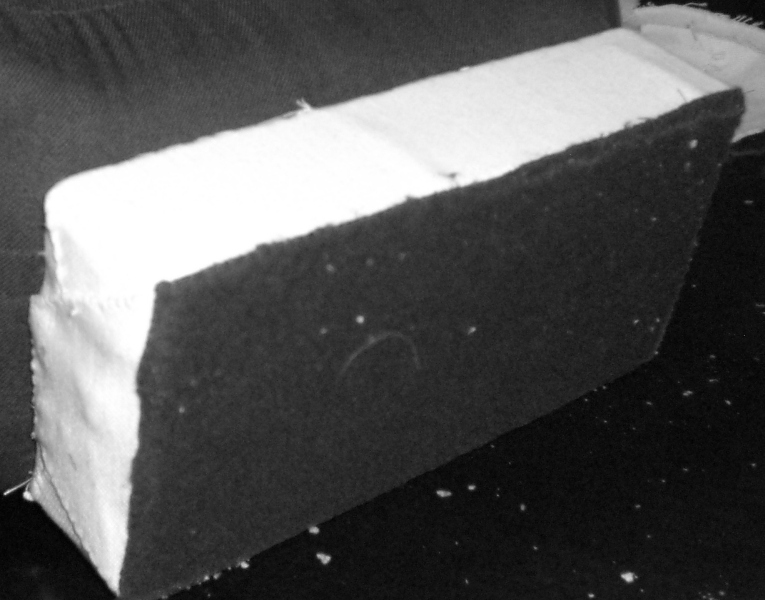
Get a large clean brick, not in the least broken or scaled off at the edges, and cover it all over with strong coarse tow linen, or thick cotton cloth, sewed on tightly and smoothly with strong thread.
This is like wrapping a package. Place the brick in the middle of your coarse cloth.
 Bring up the sides and whip stitch the seam. You may wish to fold over one of the rough edges to avoid fraying. The curved needle is useful here.
Bring up the ends. Turn in the top edge of the covering with the newly sewn seam first. You may want to trim the edge even with the other edge of the brick if it is too long. Then turn in the side edges over the top flap causing a fold at the corners. Stitch the side edges down to the turned down top edge.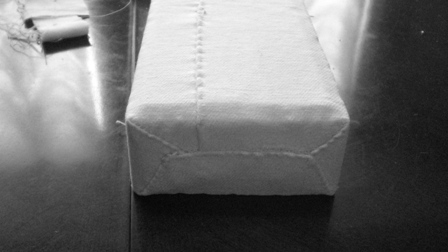
Turn in the remaining edge. You may want to trim and/or fold over the point. Stitch the edge down. Repeat on the other end.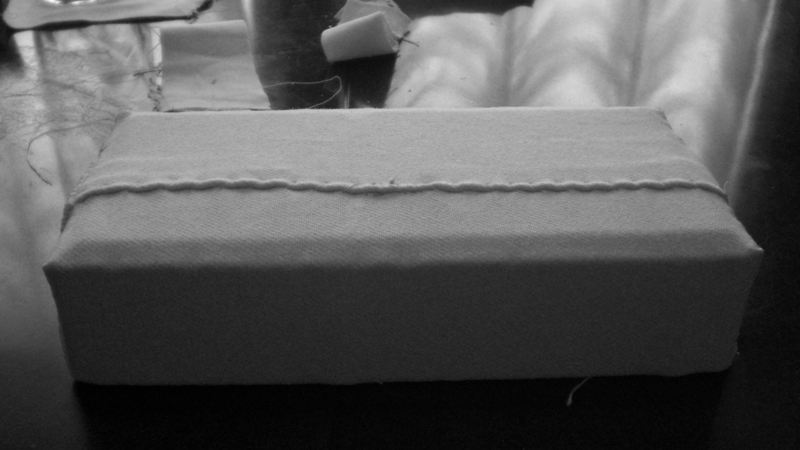
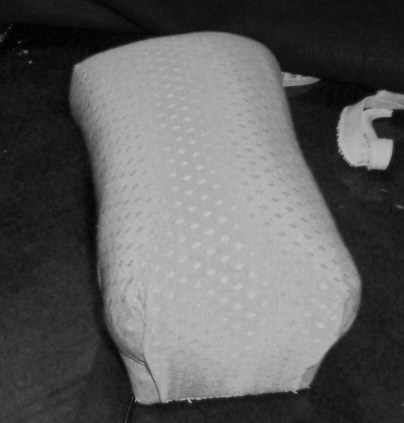
Step 2: Making the pincushion
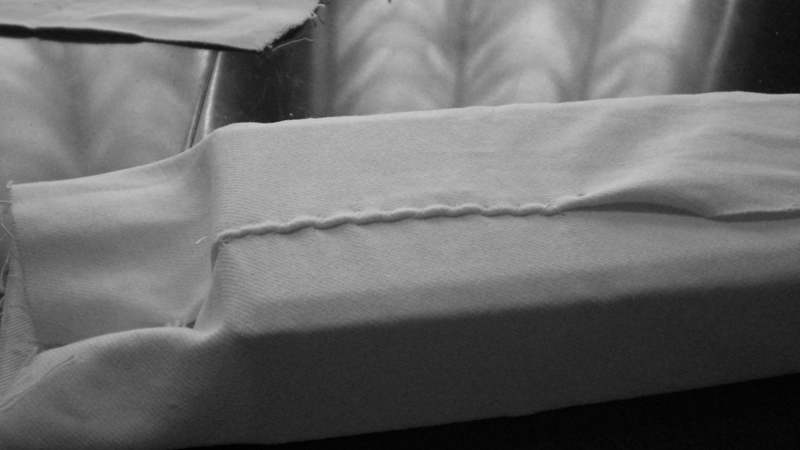
Then make a bag of thick linen, allowing it to be two or three inches larger each way than the top of the brick. Stuff the bag as hard as possible with bran or with clean wool; (not cotton, as it will prevent the pins from going in.)…Use a spoon for putting the bran into the bag; and press it down as hard as possible.
 When the bag cannot hold any more, even by tight squeezing, sew up the open end.
This does not have to be pretty.
 Step 3: Attach the pincushion to the brick
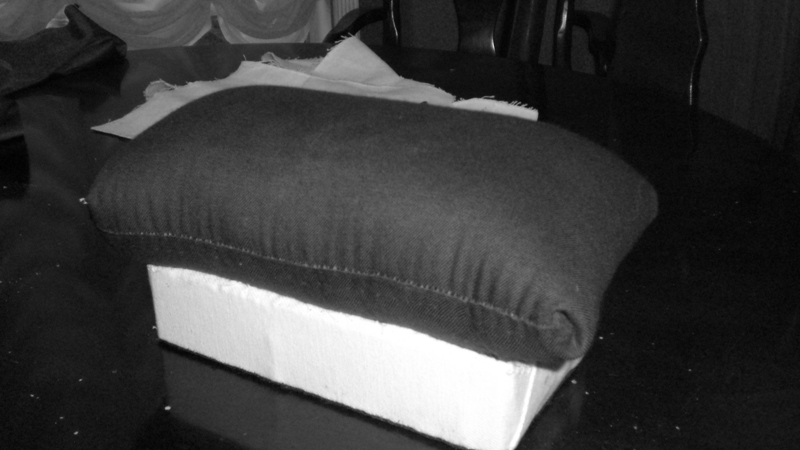
Fit the bag evenly all round to the top of the brick, and sew it strongly to the coarse linen covering.
Again, this doesn’t need to be pretty. Attach the bag to the side of the brick with the seam. The curved needle is useful here as well.
 Step 4: Attach the bottom felt lining
Then sew a piece of green baize on the bottom, where it sits on the table.
The felt should fit cleanly from edge to edge of the brick. If the brick edges are uneven trim the felt to fit. Using a curved needle, sew the felt to the covering on the bottom of the brick. This step can be alternated with Step 3.
 Step 5: Covering the pincushion
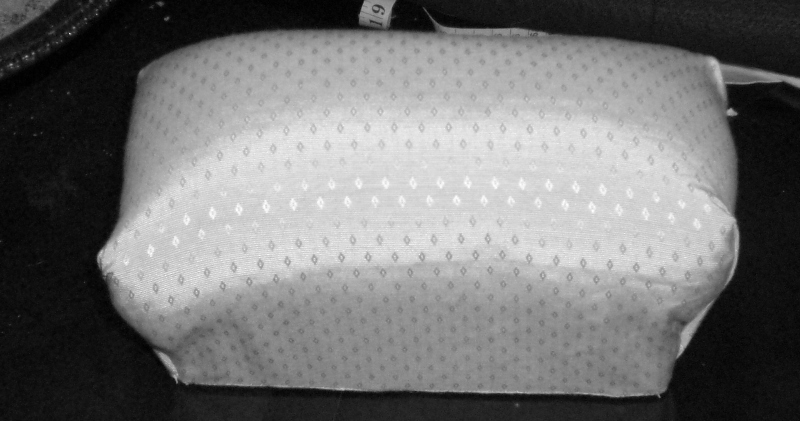
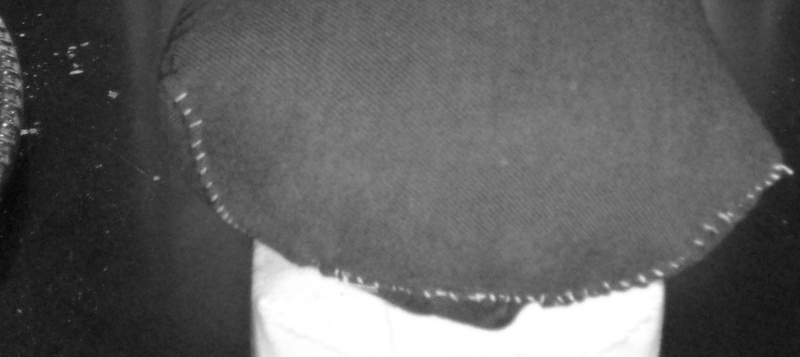
Afterwards cover the whole pincushion (except the bottom) with thick strong silk, or damask, or some other substantial material.
Fold under one long edge of the covering fabric and lay the fold even with the bottom of the brick. Attach the covering fabric to the brick by sewing, with small stitches, to the fabrics at the edge of the brick. Try to go through the bottom felt, the fabric covering the brick and the outer covering fabric.
Smooth the outer fabric tight over the top of the brick to the other side. It may be helpful to pin the fabric to the pin cushion as you smooth it to keep it taut.
Sew down the covering fabric to the other side using the same process above.
 Fold in the edges at the end of the brick, similar to how the ends were wrapped around the brick. Be sure that the fold on the long edge is carried through to the end of the fabric. The fold on the ends should be lined up with the edge of the ends of the brick. Attach the folded ends to the bottom of the brick as described above for the long side.
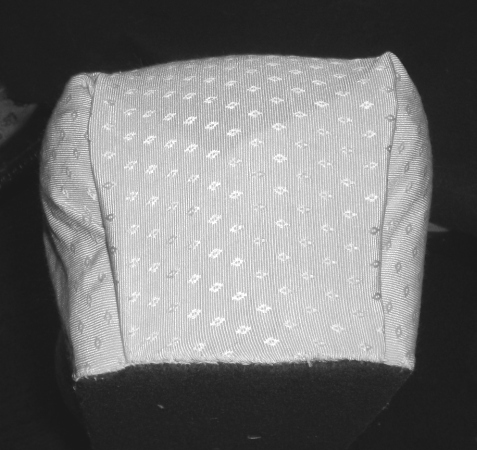
Once both end flaps are sewn down, bring down the fabric from the top, tucking under any loose fabric. Fold under the edge of the upper flap and pull the fabric tight lining up the fold with the edge of the brick. Attach the upper flap at the bottom of the brick in the same manner outlined above. If you wish, you may stitch down the edges of this upper flap as well to finish it off. Repeat the process with the other end.
It is best not to ornament it with bows, as your thread may catch round them when you are sewing.
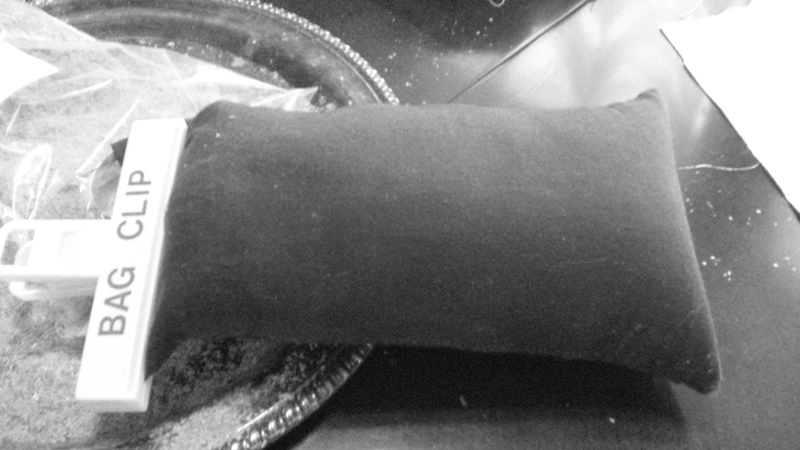
And you’re done!